Advanced Features
When do you need scanning?
You've got a new device on your desk and the documentation is vague or missing. Which Unit IDs are active? Which addresses have registers? Instead of manually trying everything, let Modbux figure it out.
Scanning Unit IDs
If you don't know which Unit ID your device uses, or if there are multiple devices on the same bus, you can scan a range.
Make sure you're connected to the device.
Click the cog icon → Scan Unit ID's.
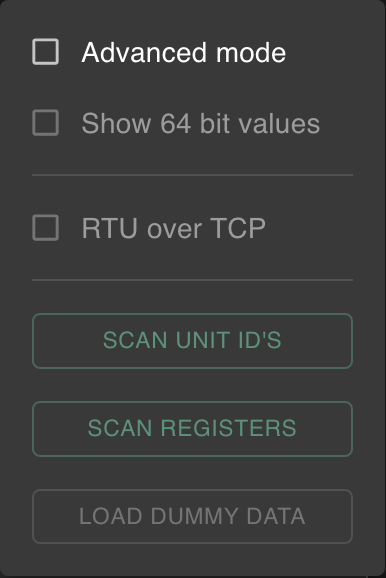
Set the start Unit ID and how many to try. Set the address and length to test against (e.g. address 0, length 1 for a quick probe), and pick one or more register types to ask for.
Click Start Scanning. Each Unit ID gets a row per register type you selected, and the count beside the button says how many units answered at all.
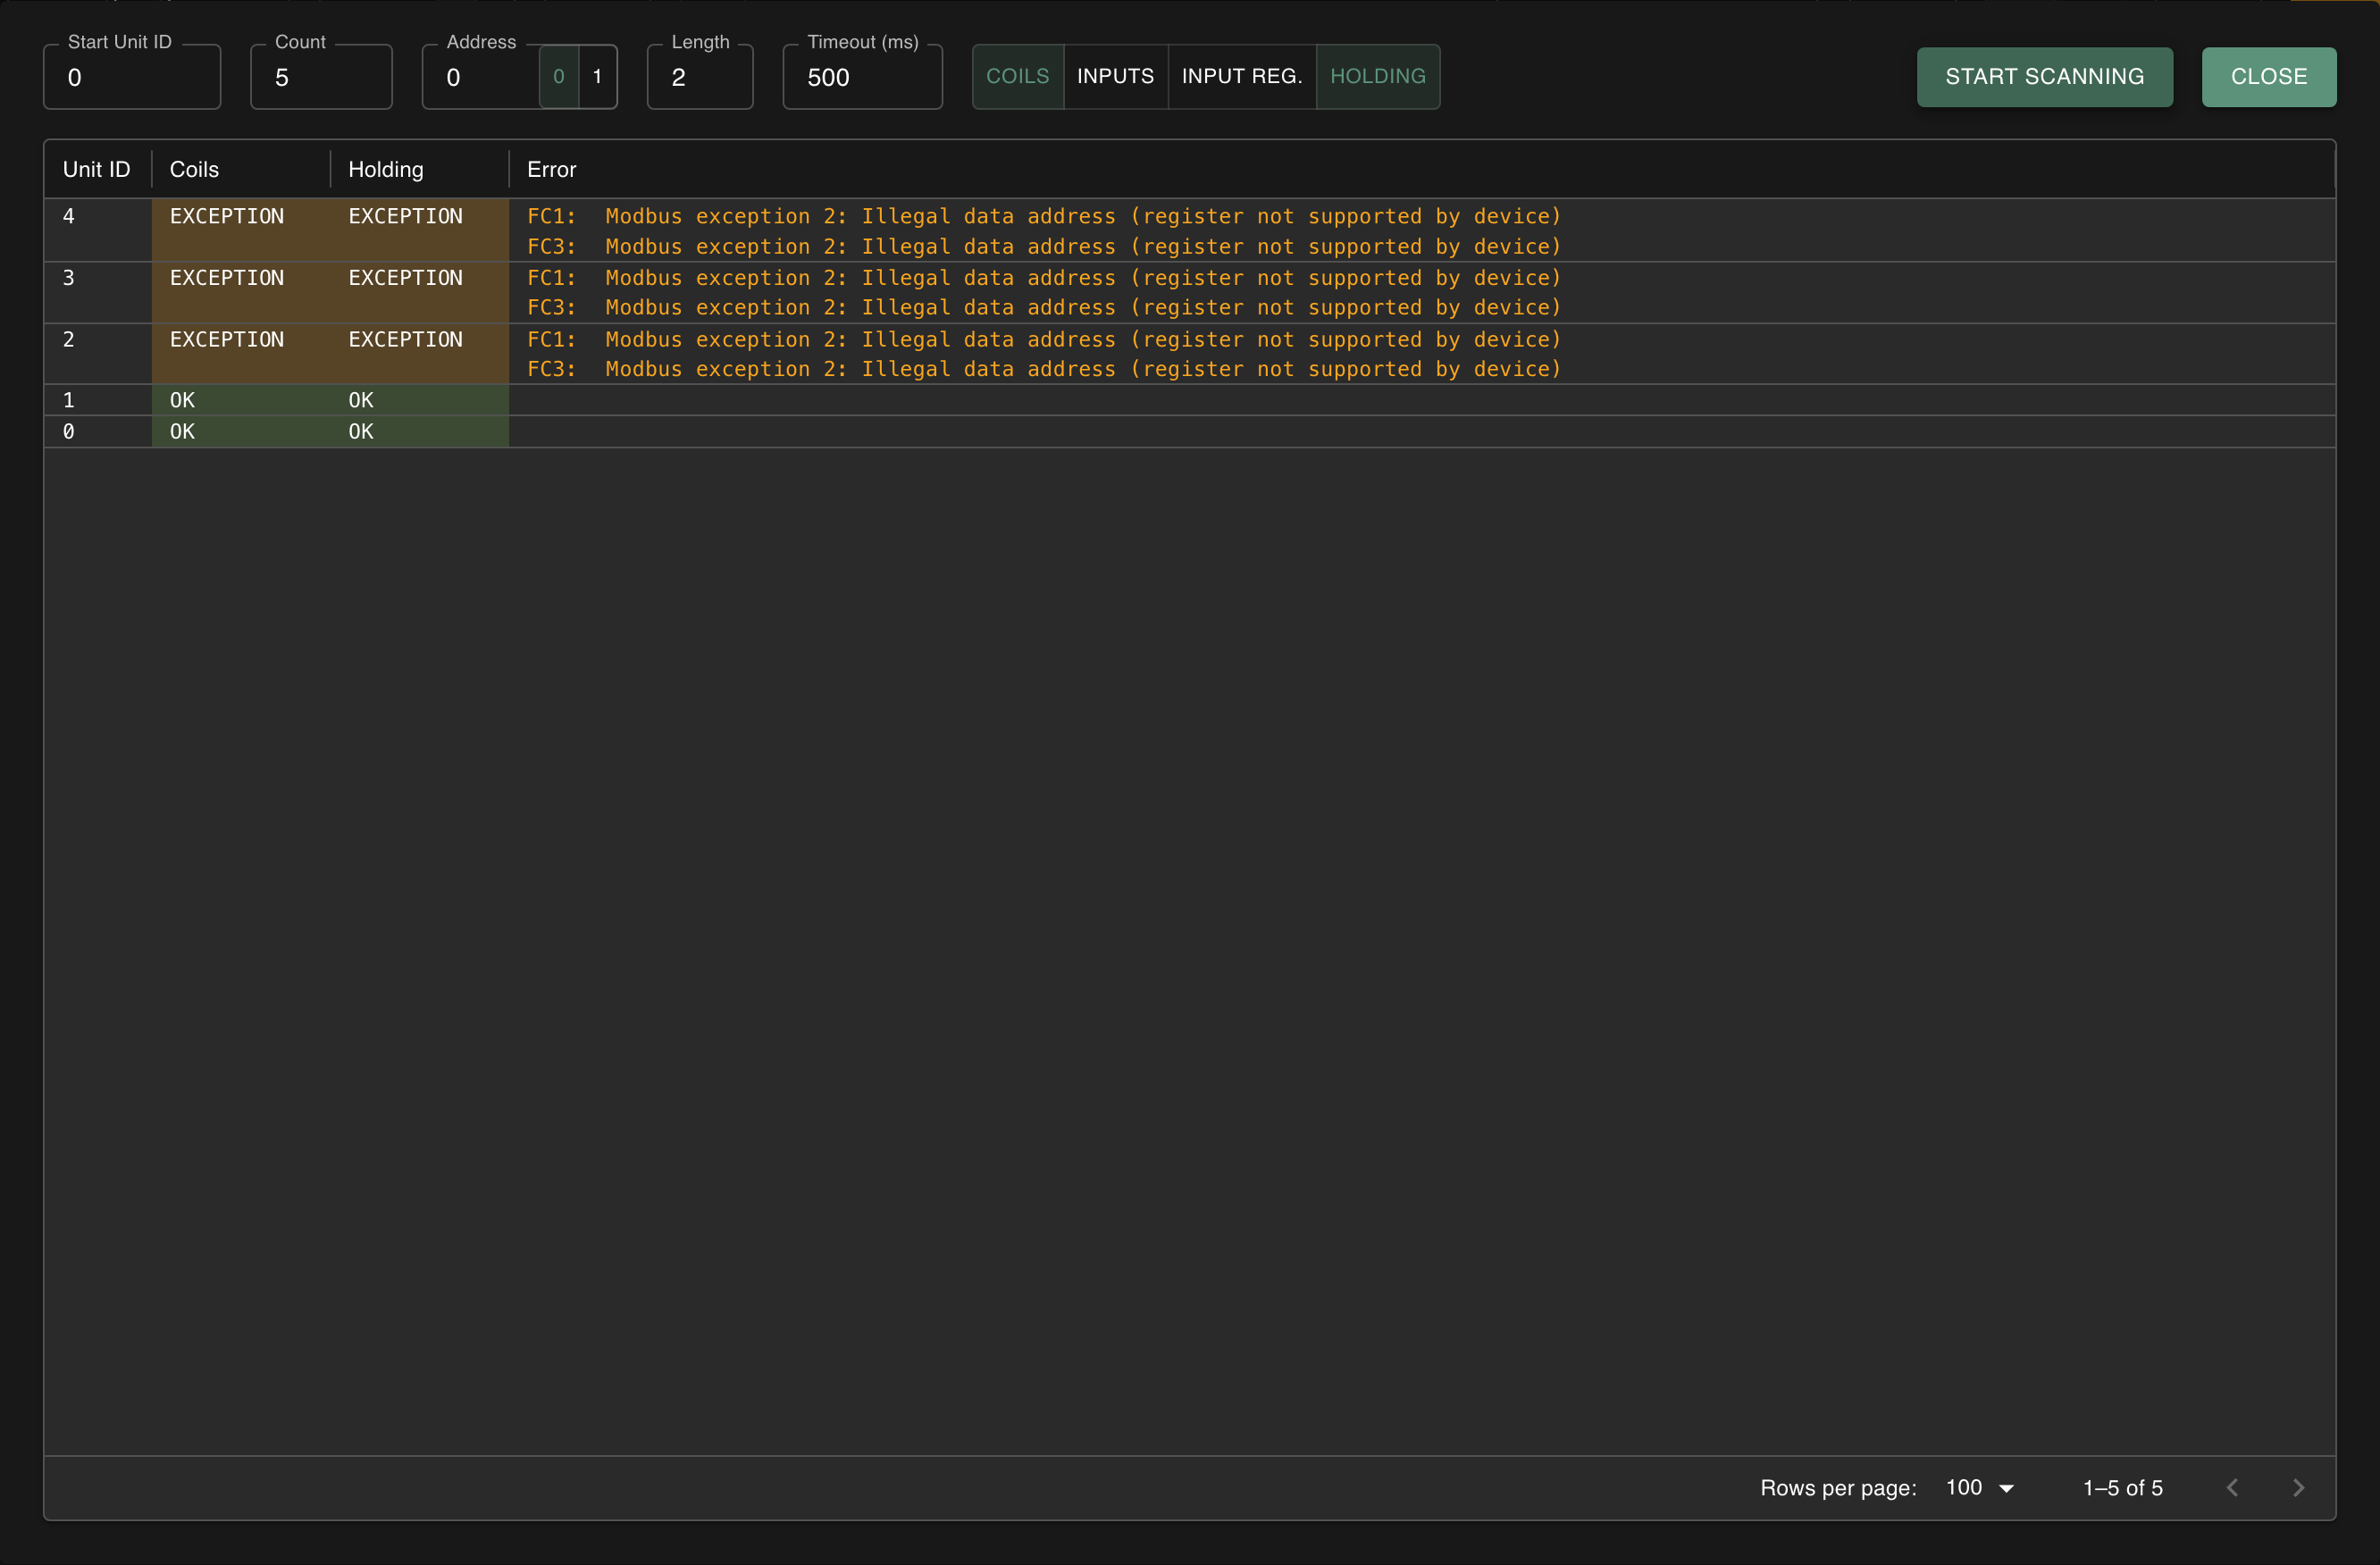
Reading the result
There are three answers, and the difference matters more than it looks.
| OK | The unit answered with data. It exists and the address you asked for is valid. |
| EXCEPTION | The unit answered, but said no. It exists. The address or register type is wrong for it, not the Unit ID. |
| NO REPLY | Nothing came back before the timeout. Either nothing is listening on that Unit ID, or it is too slow. |
An exception is therefore a find. Try another address or register type against that same Unit ID.
Exceptions on every unit is a different signal: the test address is probably invalid for the whole family of devices on the bus. Try 0, 100 or 1000, or another register type.
Scanning registers
If you know which Unit ID is active but don't know which registers contain data, you can scan an address range.
Make sure you're connected with the correct Unit ID.
Click the cog icon → Scan Registers.
Set the start address and length to define the scan range. Chunk size is how many registers go in one request; timeout is how long to wait for each.
Click Start Scanning. The grid fills as the scan walks the range, so you can read what has come in without waiting for the end.
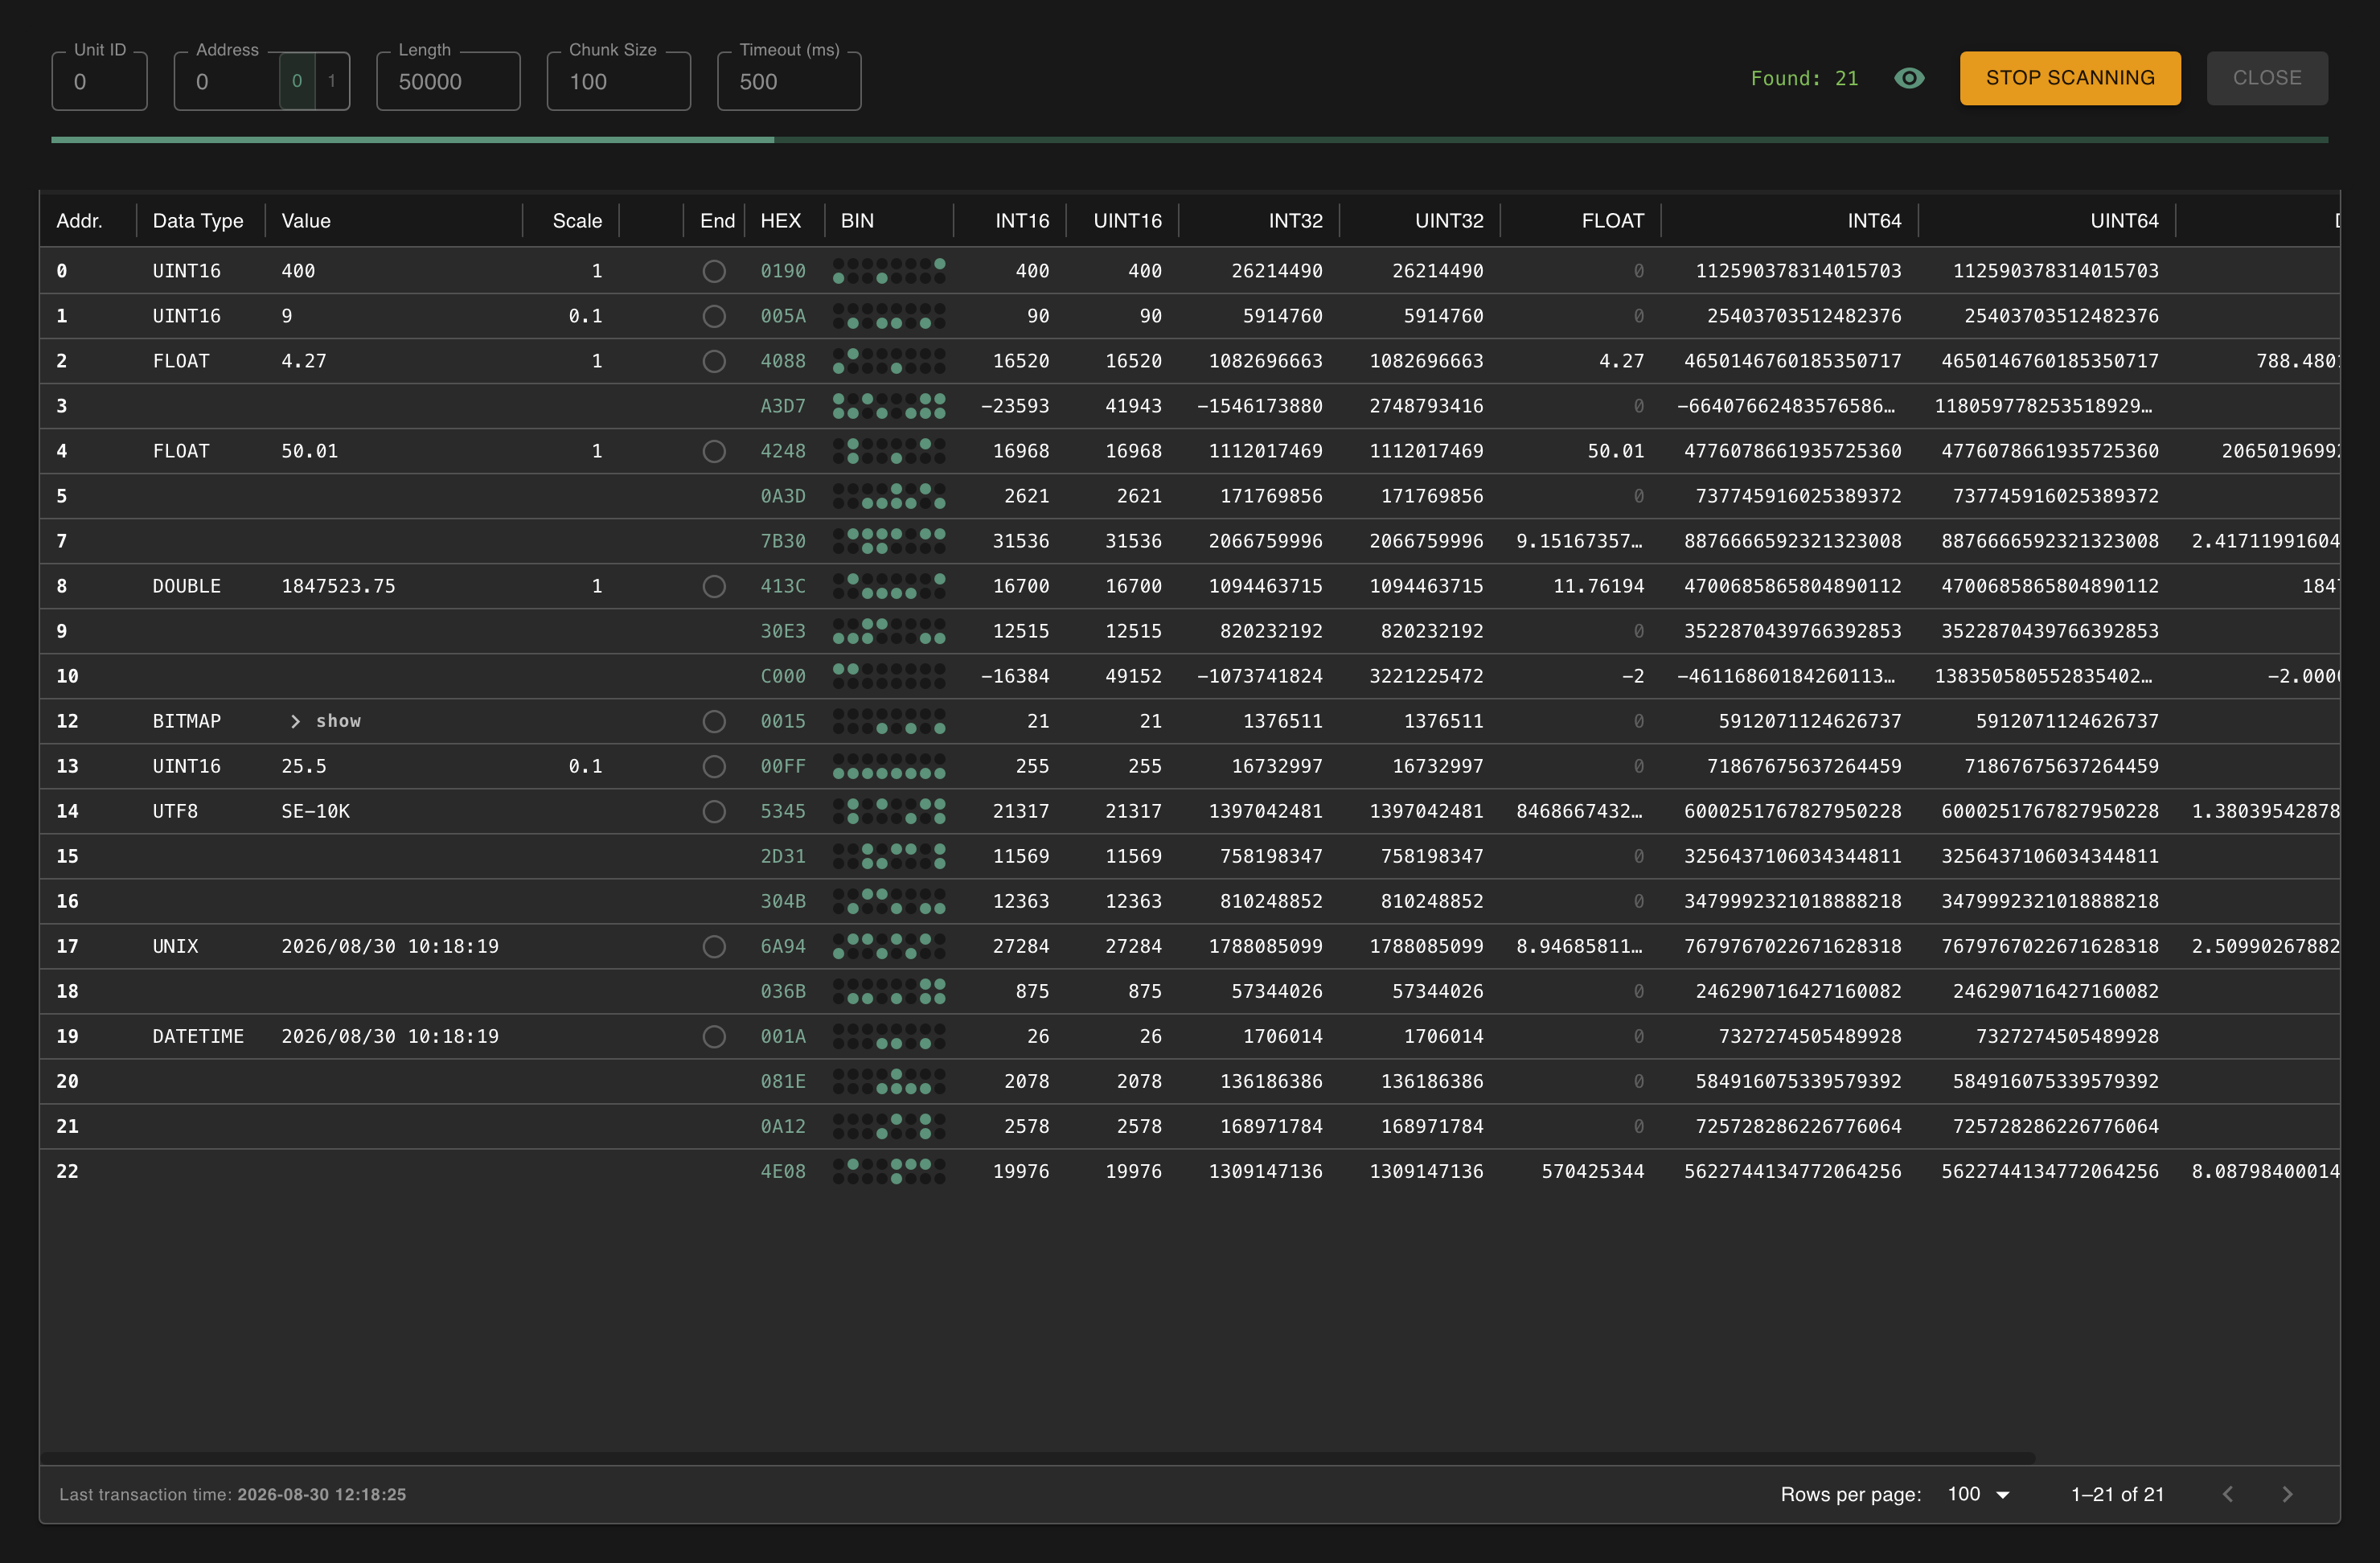
Advanced mode turns on for the duration, because a scan walks raw addresses and you have not assigned data types to any of them yet. Found counts the registers with a value so far.
While the scan runs you can scroll and page through the rows, but not edit them: they are still arriving. The toolbar and the transaction log step aside for the same reason, and come back when the scan ends. The dialog stays open at the end rather than closing over the results you were already reading.
The eye beside the scan button hides the grid while scanning and restores the older behaviour: a progress bar, and everything at once when it finishes. Rows are written in batches so a live grid should cost you nothing, but if a scan feels sluggish on an older machine, that is the switch to try.
Errors during a scan are normal: devices return one for addresses that don't exist. Registers holding 0 are left out, since the point is to find where data lives. Start with a small range and widen it if you suspect there is more.
Register Grid
Read, write and monitor Modbus registers. Data types, bitmap mode, scaling, interpolation, word order, polling and configuration management.
Server Overview
Modbux Server mode overview. Simulate Modbus TCP and RTU devices with configurable registers, value generators and multi-unit support.