Getting Started
Installation
If Windows SmartScreen shows a warning, click "More info" → "Run anyway". Modbux isn't signed by Microsoft, but is completely safe.
On first launch: right-click the app and choose "Open", or go to System Settings → Privacy & Security → "Open Anyway".
Seeing "Modbux is damaged and can't be opened"? This is macOS Gatekeeper blocking the app because it isn't signed with an Apple Developer certificate (common on macOS 15 and later). Modbux is safe. Run this once in Terminal, then open the app again:
xattr -cr /Applications/Modbux.appAppImage: make it executable and run it. Nothing is installed and nothing is written outside your home directory.
chmod +x modbux-*.AppImage
./modbux-*.AppImage
Debian and Ubuntu: install the .deb with apt, so dependencies are resolved for you.
sudo apt install ./modbux_*_amd64.debPort 502 needs one setting changed. Linux keeps the ports below 1024 for root and the Modbus default sits in that range, so a server lands on 1024 instead and clients looking for 502 find nothing. Modbux checks when you open the server view and offers to fix it, so there is nothing to do up front. What it changes.
Serial ports (RTU) belong to a group, and a user outside it cannot open one. The port is still listed, so nothing looks wrong until the connection fails.
Modbux checks when you select RTU and offers to add you, with the command shown before it runs. It reads the group name off the device that refused rather than assuming dialout, so a distribution that calls it something else gets the right answer. Membership only takes effect at your next login, so it offers to log you out too.
Mint and Ubuntu put the first user in that group during installation, so most people never see this at all.
Windows and macOS both warn about Modbux because the app isn't code signed. Certificates cost money, and Modbux has no revenue: it's free and open source, with no paid tier and no account. An Apple Developer certificate is the current funding goal, and it removes the macOS warning for everyone.
Persistence
Everything in Modbux is persistent. When you close the app and reopen it, everything is exactly the way you left it: connections, register configurations, server setups, all of it. You don't need to save anything manually to preserve your session.
Which mode do you need?
Modbux opens with a home screen where you choose how you want to work. The choice depends on what you're trying to do:
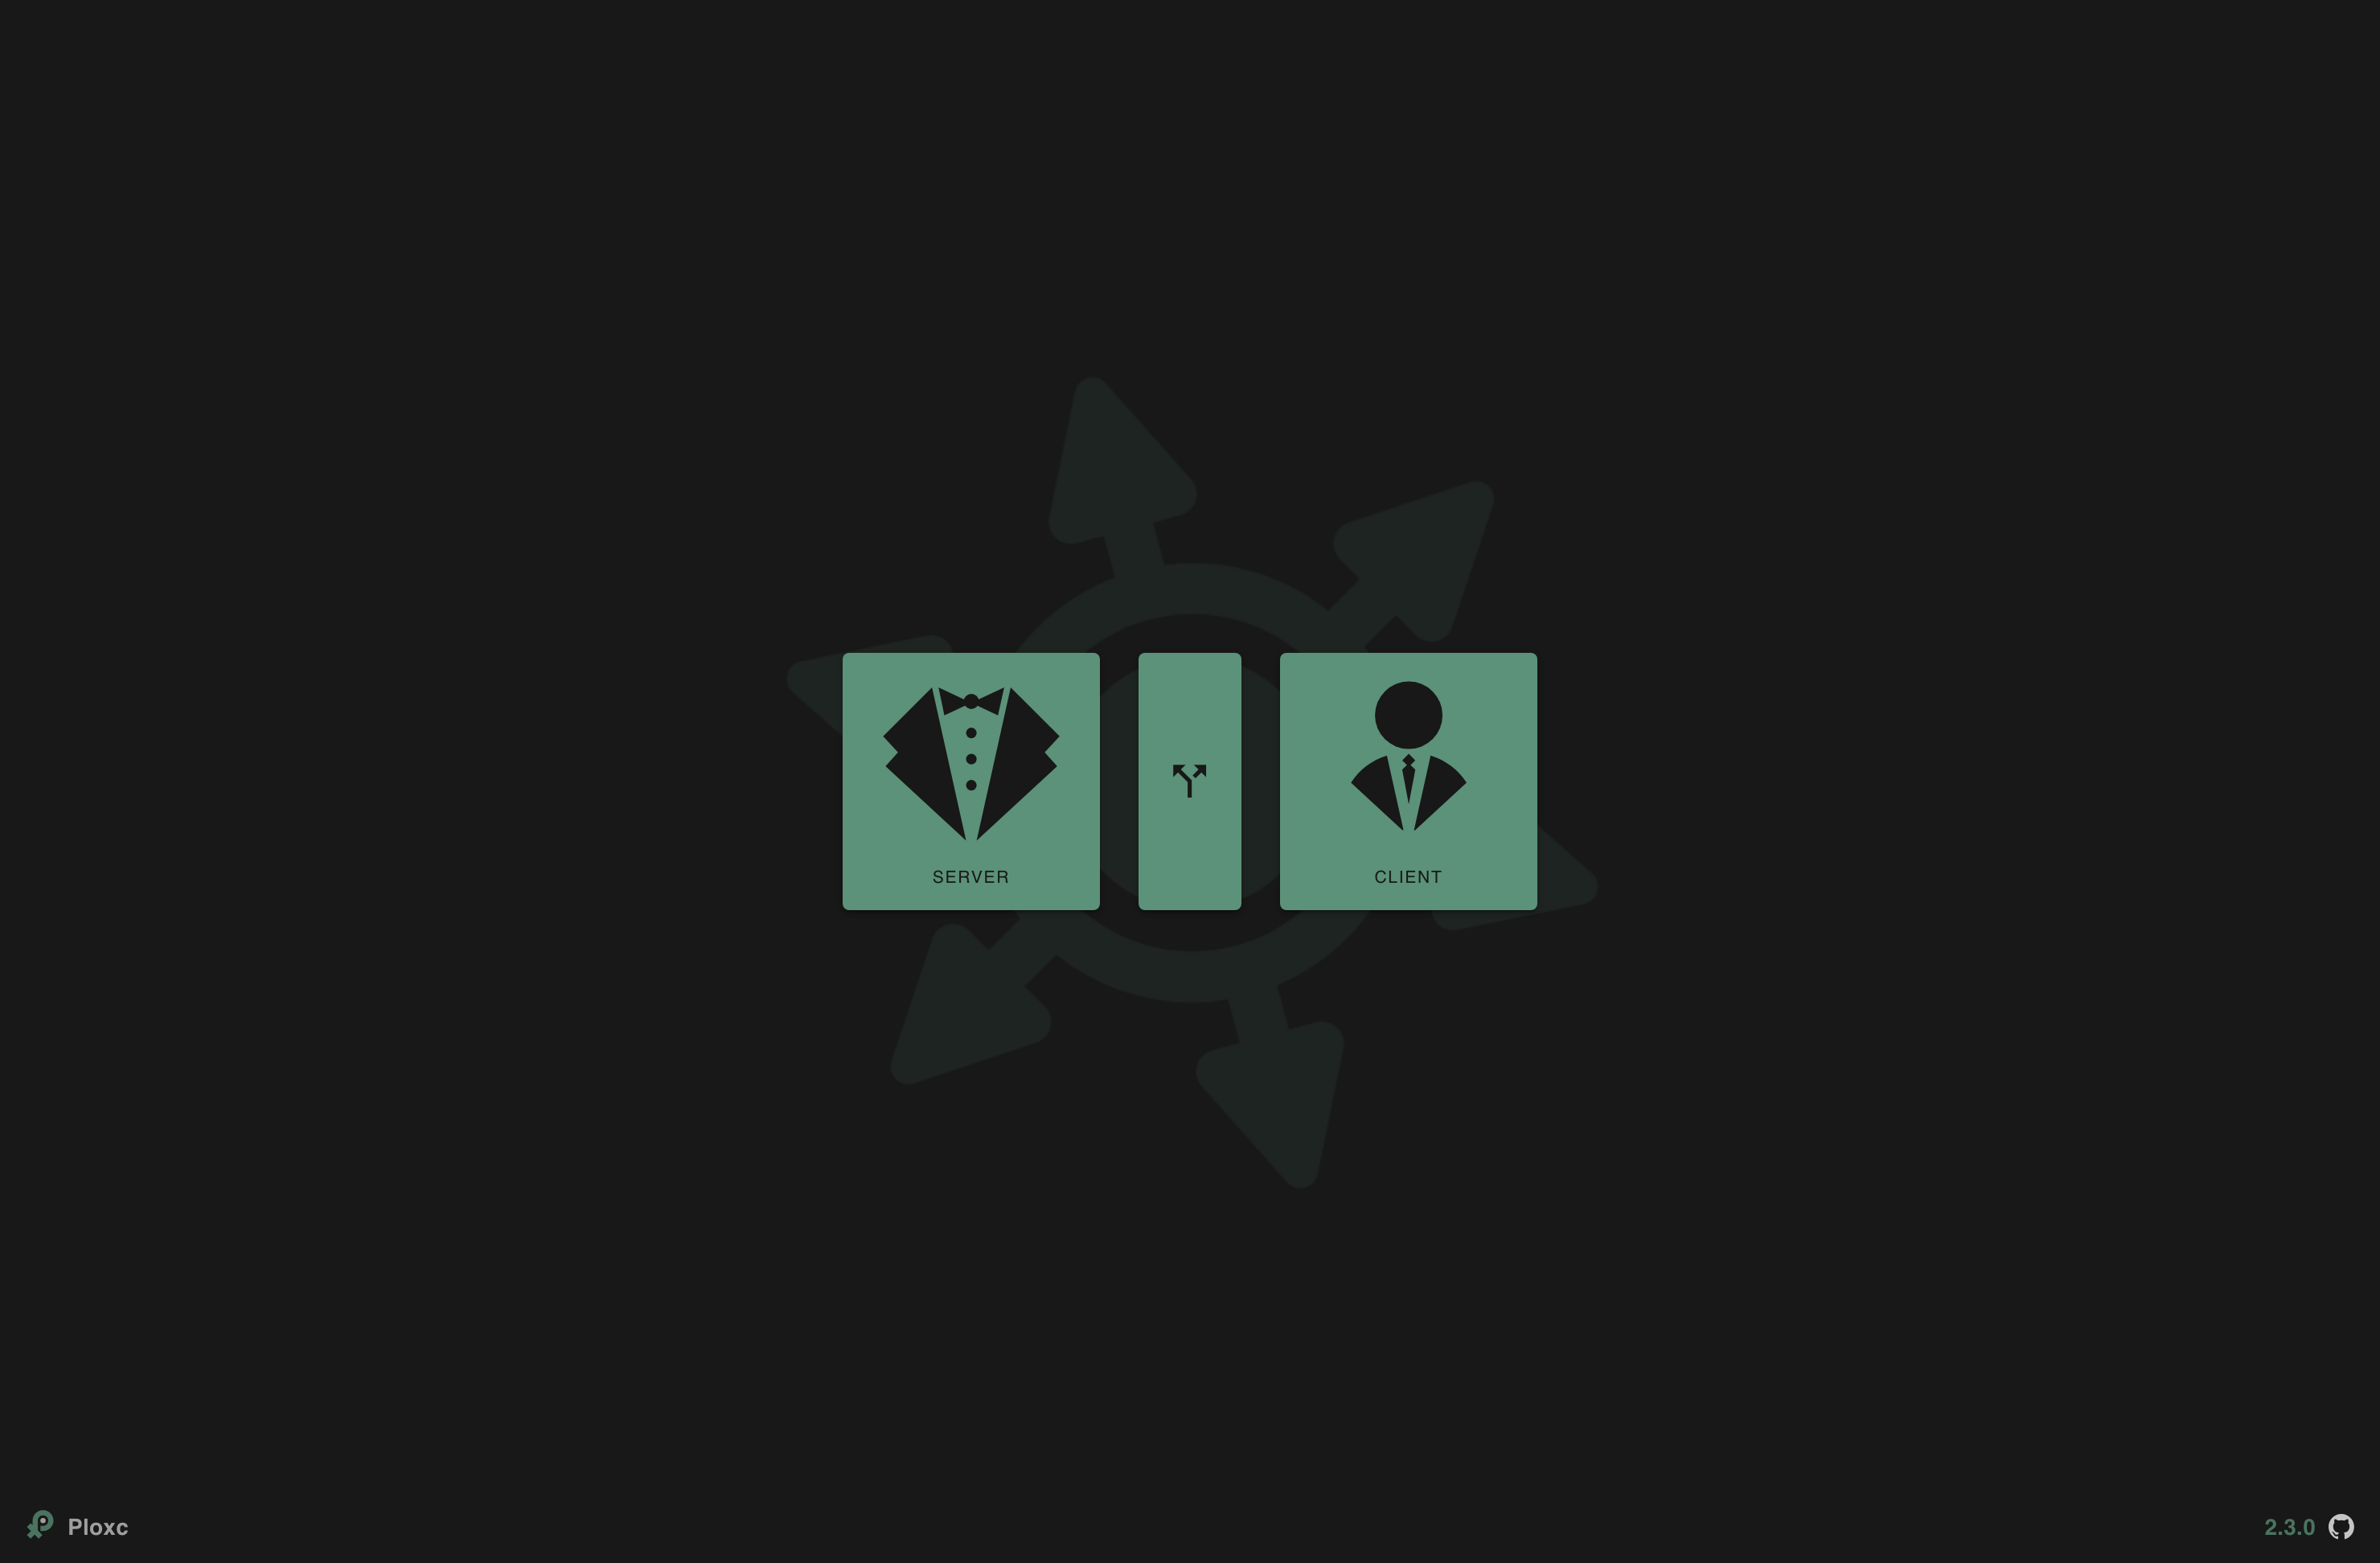
Client
You want to read, test or configure an existing Modbus device. For example: a PLC, sensor or variable frequency drive.
Server
You want to simulate a Modbus device so you can test your own software or hardware without a physical device.
Split
You want to run client and server at the same time. Useful for learning Modbus, or when you're developing both sides of a communication (e.g. PLC code and a client application) simultaneously.
Quick start
Reading a device
Click Client on the home screen.
Set up your connection: choose TCP or RTU, fill in the host (IP address or hostname) and select the correct Unit ID.
Click Connect. The button turns yellow when the connection is active.
Configure which registers you want to read (type, start address, length) and click Read.
Enable Advanced mode (cog icon) to see all data type interpretations side by side, or set a specific data type per register to convert the raw values into meaningful numbers.
Simulating a device
Click Server on the home screen.
Choose TCP or RTU mode. For TCP: set a port. For RTU: select a COM port and serial parameters.
Choose a Unit ID for your virtual device.
Add registers, for example a few Holding Registers with test values.
Your TCP server is running immediately. For RTU, the server activates as soon as a valid serial port is selected. Connect to a TCP server from a client using the IP address of the computer running Modbux.
Client and server simultaneously
Click Split on the home screen.
A second window opens with the server. Your main window automatically becomes the client.
Configure your server with the desired registers in the server window.
Connect in the client window to localhost and start reading and writing.
Split mode is great for learning Modbus hands-on, or when you're developing both client and server logic at the same time, for example writing PLC code alongside a monitoring application.
Older versions
Looking for a specific version? All releases are available on the GitHub releases page.