Advanced Features
When do you need scanning?
You've got a new device on your desk and the documentation is vague or missing. Which Unit IDs are active? Which addresses have registers? Instead of manually trying everything, let Modbux figure it out.
Scanning Unit IDs
If you don't know which Unit ID your device uses, or if there are multiple devices on the same bus, you can scan a range.
Make sure you're connected to the device.
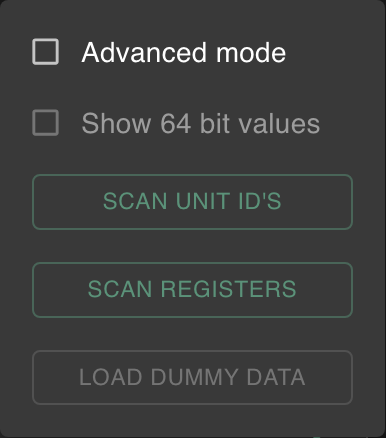
Click the cog icon → Scan Unit IDs.
Set the address and length to test against (e.g. address 0, length 1 for a quick probe). Choose a register type.
Click Start Scanning. Modbux tries each Unit ID and shows which ones respond (green) and which don't (red).
Getting errors everywhere? Then the test address is probably invalid for your device. Try a different address (0, 100, 1000) or a different register type. A Unit ID can be correct but still return an error if the requested register doesn't exist.
Scanning registers
If you know which Unit ID is active but don't know which registers contain data, you can scan an address range.
Make sure you're connected with the correct Unit ID.
Click the cog icon → Scan Registers.
Set the start address and length to define the scan range (e.g. address 0, length 100 to scan the first 100 registers).
Click Start Scan. Modbux reads the range in chunks and shows all registers with a non-zero value.

Use a small length for precise per-register mapping. Use a larger length for faster scans of wide ranges. Always start with a small range and expand if you suspect more data.
Errors during scanning are normal. Devices return an error for addresses that don't exist. Registers with value 0 are filtered out because this scan is meant to discover where data lives.